


Overview
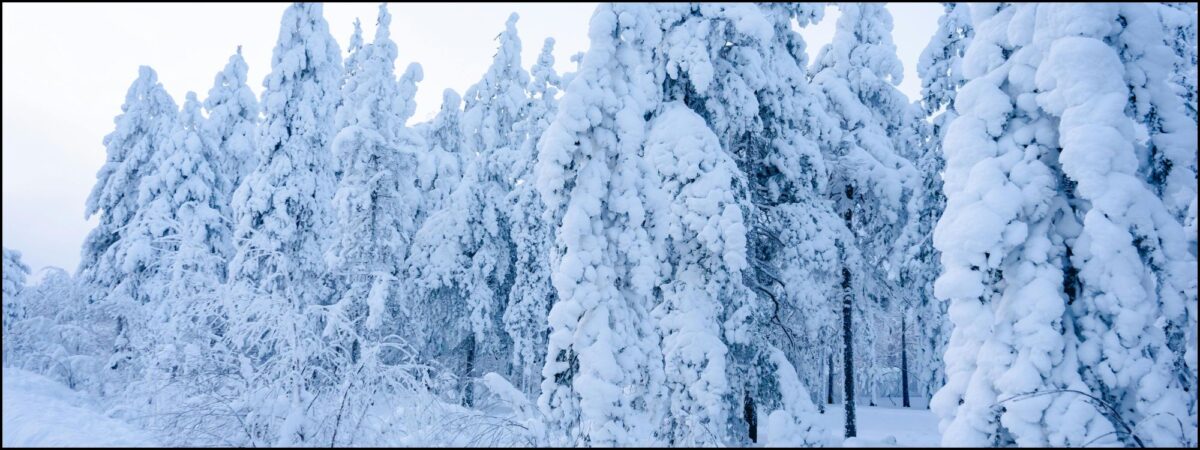
Different types of weather conditions create different types of precipitation. In the summer, misting, drizzle, or giant raindrops can fall. Similarly, depending on the amount of water vapor in the air during winter, different types of snow can fall. Some snowflakes have a higher content of water than others. You may have already learned this while trying to make snowballs in the winter. Some snow (with higher water content) sticks together better for snowballs and snowmen than other snow.
Introduction
This activity explores how much water is in the snow after a recent snowfall in your community.
Grade Level
K-5, 6-8
Learning Objectives
Students will be able to identify that snow is frozen water and that different snowfalls have different water contents depending on weather conditions.
Lesson Format
This activity can be done indoors!
Time Required
1 - 2 hours
Credits & Contact Info
Trisha Smrecak and Caroline Boyajian
Paleontological Research Institution, 1259 Trumansburg Rd., Ithaca NY 14850
climate@priweb.org
Instructions & Materials
Materials
- 3 cups of the same size (for each group)
- Ruler
- Marker
- Paper
- Fresh snow
- Tape
- Crushed ice
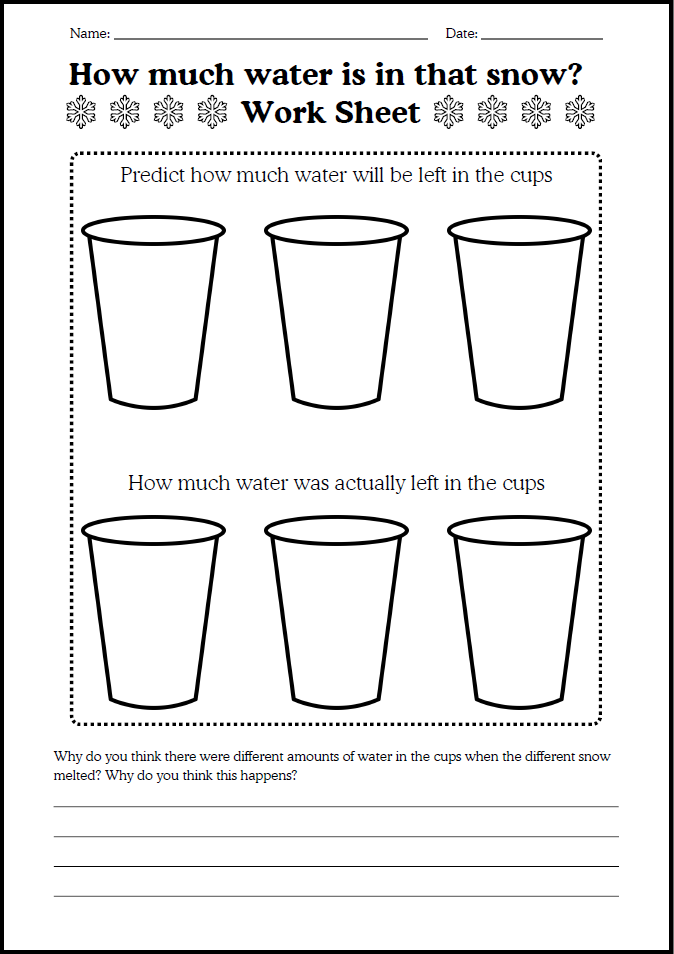
- How Much Water Is In That Snow? worksheet
Instructions
- Break into three groups.
- Name groups and have each label the top of their cups (or a sheet of paper taped onto the cup) with the group names.
- Bundle up and go outside after a recent snowfall.
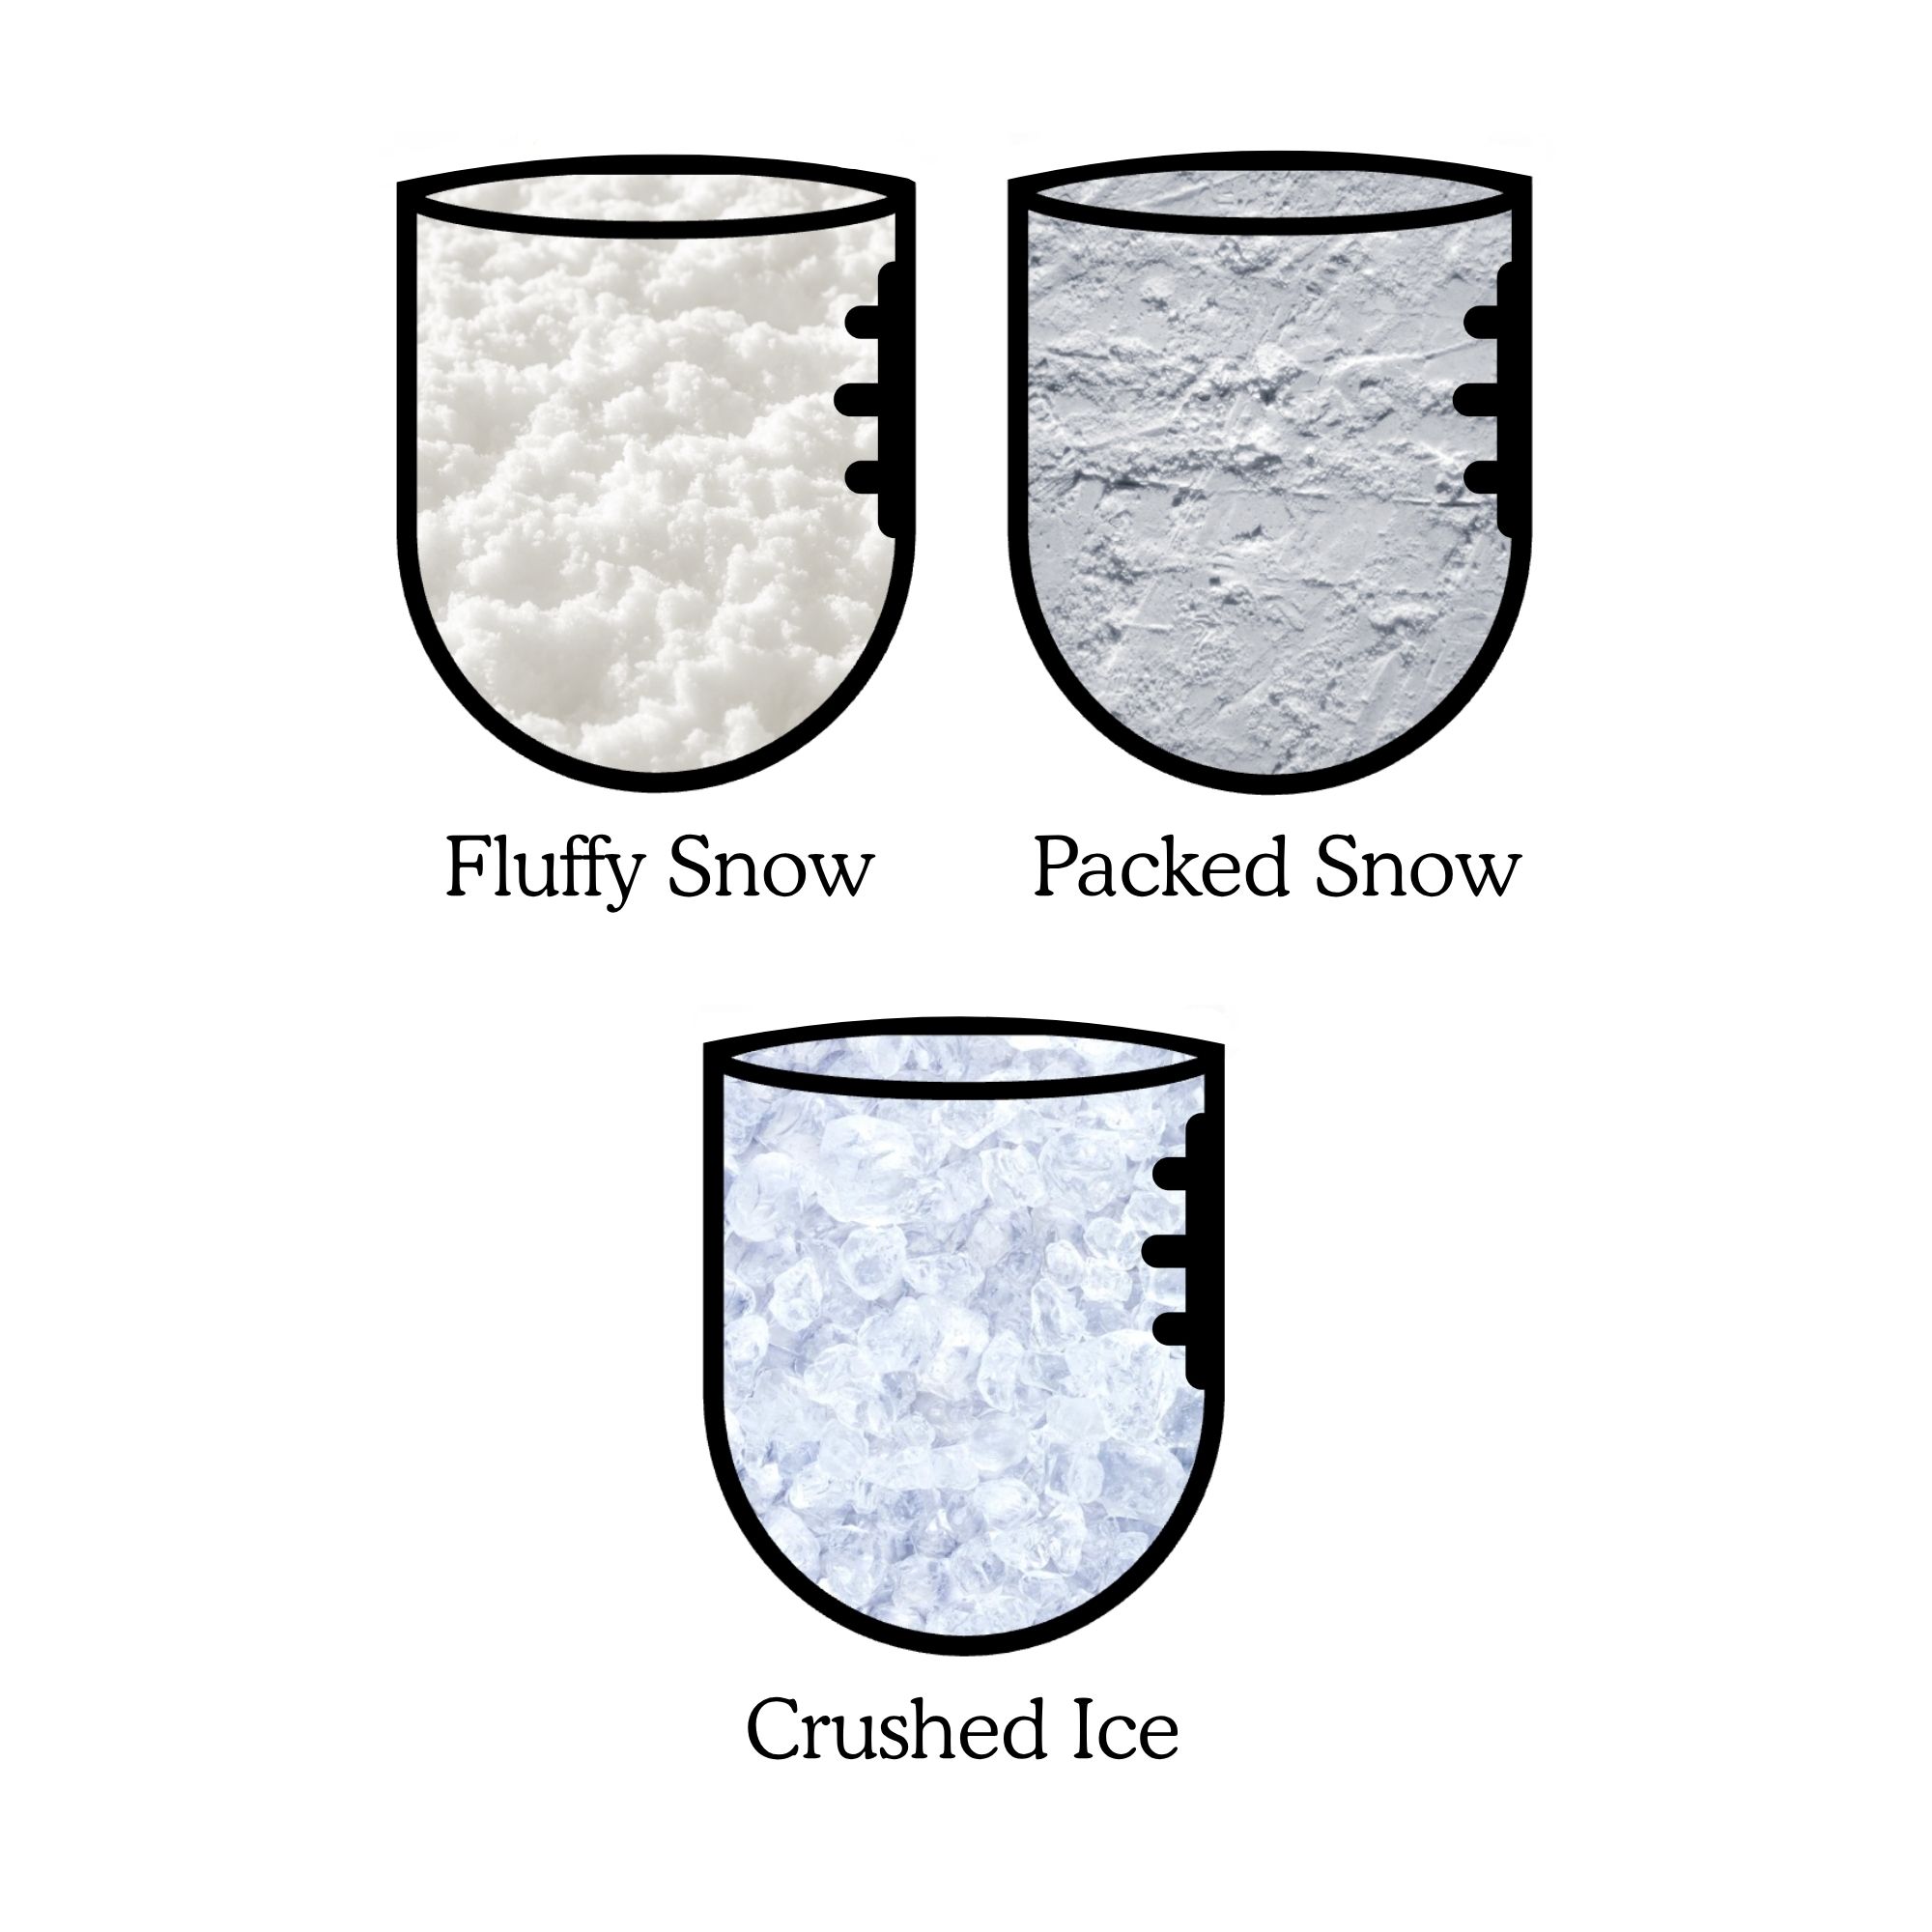
- Fill cups to the brim with snow, being careful NOT to pack the snow down in the cup.
- Use the ruler to remove excess snow so that the level of snow is even with the lip of the cup. Again, be careful not to pack the snow into the cup.
- Bring cups inside and set them on a sunny windowsill or near a heater to encourage quick melting. You may wish to speed up the process with a hair dryer, but be sure to use caution with electricity around water.
- Have groups predict how much water will be left in their cup after it is melted.
- When completely melted, have the groups mark how much water is left in the cup by marking a line (or marking with tape) directly on the cup.
- Repeat the activity but this time pack the snow in the cup. Repeat the activity a third time by filling the cup with crushed ice. Predict how these results will vary from the first cup of unpacked snow, and then see how the results vary by the markings on the cups. You may wish to graph the results for the discussion.
Discussion
Density is an important part of understanding snow. Snow weighs less than an equal volume of water because there is a lot of space between the crystals of snow filled with air. When the groups did not pack the snow into their cup, there was a significantly lower level of water than there was snow. When the groups packed the snow, some of the space between the snow crystals was filled, and crystals were forced together and broken into smaller pieces. This raised the density of the snow and thereby increased the water content. Therefore, there was more water in the cup when the snow melted. Finally, crushed ice is very dense, so when it melted, the water left in the cup was even higher than that of either of the other melted snow experiments.
This helps us to understand how glaciers are formed. Initially, the snow that falls is a lot like our first experiment: unpacked and fluffy snow in a cold environment. Over time, more snow falls on top, allowing the snow to compact and become denser. Over time, the compaction is compounded to create the icy glaciers capping our poles and storing a large supply of our freshwater resources today.
Discussion Question: Why do you think there were different amounts of water in the cups when the different snow melted?
Teaching Tip
You may want to show students photos of snowflakes, both to admire their beauty and to demonstrate how you can think of snow as a mixture of ice and air (in the spaces between the ice crystals).
One source for snowflake photos is the website of photographer Douglas Levere: https://www.douglaslevere.com/snowflakes
Extensions
CoCoRaHS Extension Ideas:
While recording your new snowfall in the winter, compare the newly fallen snow to the underlying, older snow. The older snow has had time to compress, and in some cases, may even be almost icy. Each day for one week after a significant snowfall, measure the change in water content of the snow by repeating the experiment. Be sure to record the temperature for each day, as that might change your results. Discuss what you see, and what contributions the weather has had on your results. Would the results differ if the weather were significantly different? How?